Quick start
Create a map, add your data, style it and share it — the whole path from an empty account to a published map.
This walkthrough takes you from an empty account to a published map. It uses a Cluster Map as the example; the steps are the same for every type, and the map-type pages cover what differs.
Before you start
You need a GitHub, Google or Microsoft account to sign in. If your data is in a spreadsheet, make sure it has a latitude and a longitude column in decimal degrees (for example 38.7223 and -9.1393). Mapji places points by coordinates and does not convert street addresses.
Create and publish a map
Sign in
Open app.mapji.com and sign in with GitHub, Google or Microsoft. Your account is created the first time you sign in. See Accounts and sign-in.
Create a map
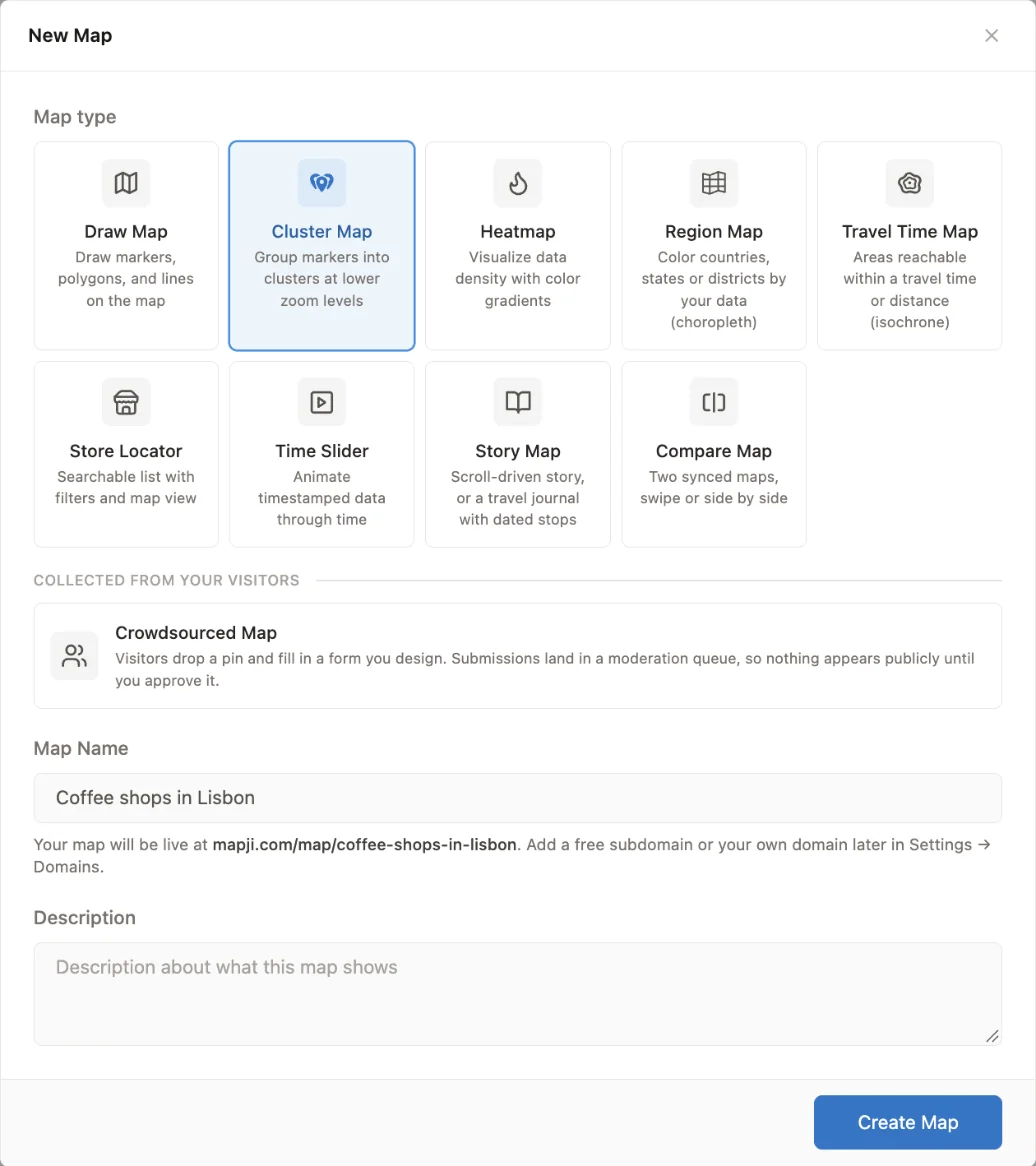
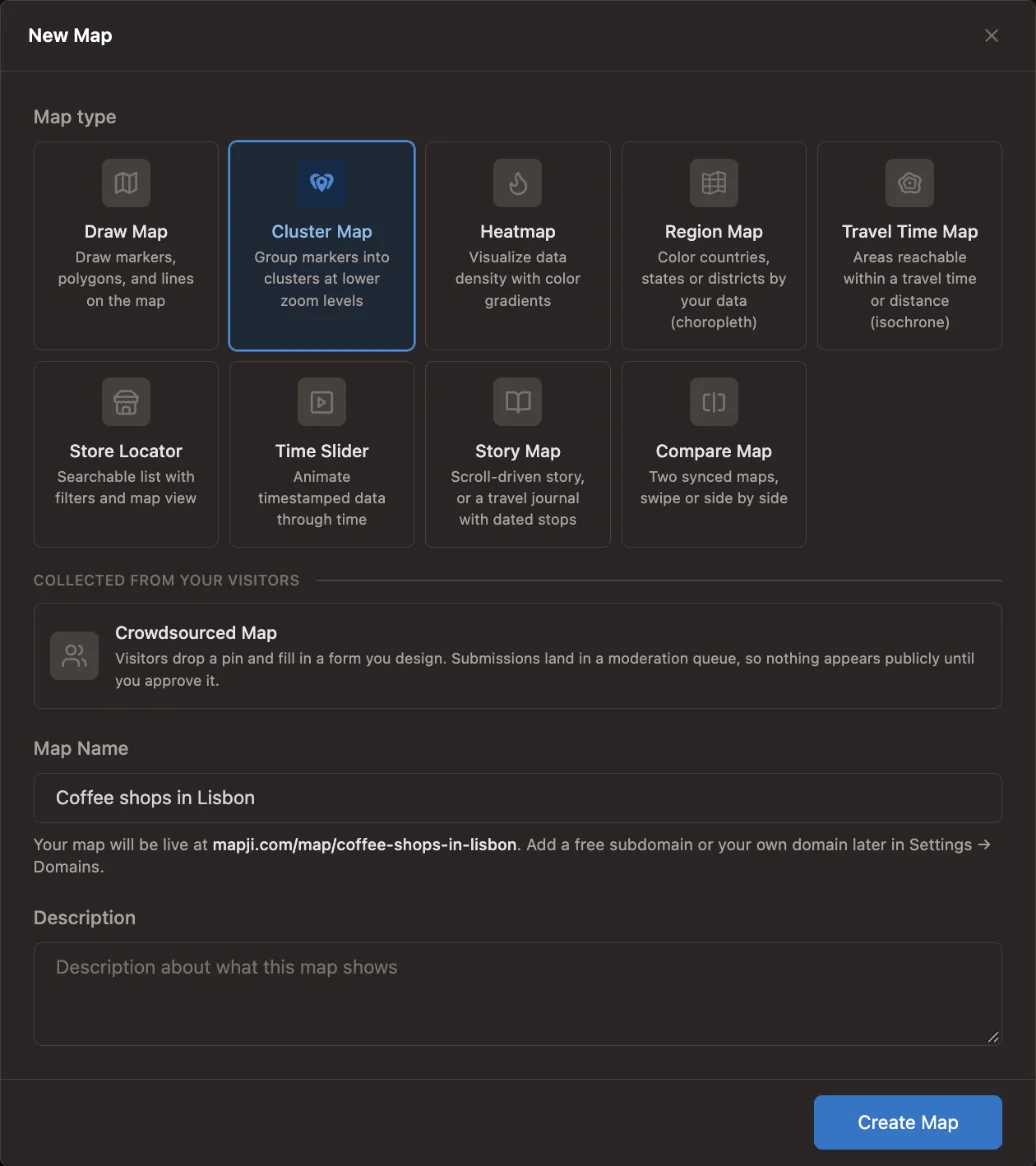
On the All Maps page, select New Map. Pick a map type — for a Story Map, also choose Geography story or Travel Journal — give the map a name, and optionally a description. The dialog shows the address the map will have, such as
mapji.com/map/coffee-shops-in-lisbon. Select Create Map and the editor opens.Add your data
Select Import in the editor toolbar and drop in a file, or connect a Google Sheet from the same dialog. See Importing files for the formats each map type accepts.
Configure the map type
The Settings tab in the sidebar holds the options for your map type: for a Cluster Map, the cluster radius, colors and size thresholds.
Style the map and decide how it behaves
Use the buttons at the top left of the map. Style sets the basemap, Layers adds background layers such as satellite imagery, Interactions controls what visitors can do, and Widgets chooses the controls they see. To make the map always open on the same place, lock the view from the status bar under the map.
Save
Select Save in the toolbar, or press ⌘ S. Visitors see nothing you have not saved. See Saving changes.
Share it
The map is already live at its address. Select Preview in the toolbar to open it the way visitors see it. From Map settings you can add a free subdomain or your own domain, or copy the code to embed the map in another site.